
This my current setup although I plan to expand to a simpler all in one system at some point in the future.
I like to think of this system as frugal because it uses more manpower than a closed system and I omit some unnecessary and costly pieces of equipment.
All-Grain sparge systems are one of the most efficient ways to get the most sugars out of your malted grains. The propane system is also one of the fastest ways to heat wort and can speed your brew day.
If you want to improve your efficiency and get the most out of your all-grain brew day, take a look at the equipment I use below.
Check out my article on the all-grain brewing process if you want to learn a bit about the process before taking the leap and buying the gear.
- Converted Cooler with false bottom and ball valve.
- Bayou Classic Brew Cooker Burner.
- Homebrew Kettle with options for Ball Valve Assembly.
- 5 gallon stainless steel brew pot.
- 25′ 3/8″ Copper Wort Chiller.
- PH meter.
- Digital Thermometer.
- Barley Crusher Grain Mill 7lb Hopper.
- Stainless Hop Filter.
The products linked to above are affiliate links. You can check below for more in depth information on these products and why we use them.
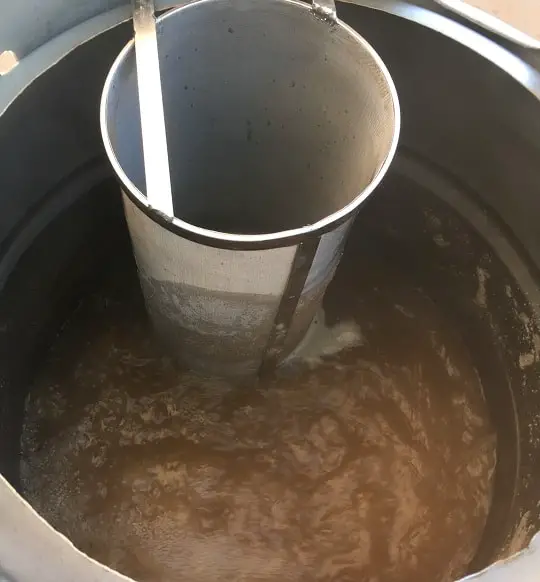
Mash Tun for Extracting Sugars
There are a lot of different methods for extracting sugars from grains, but what is essential is keeping the temperature as consistent as possible.
There are electric systems that keep a consistent temperature in the same vessel that you boil in, but when you are using a propane burner like we use the vessel is separate from what you will be boiling in.
The mash tun that is the most popular and what we like to use is a converted cooler. We also bought a false bottom separately and its highly recommended.
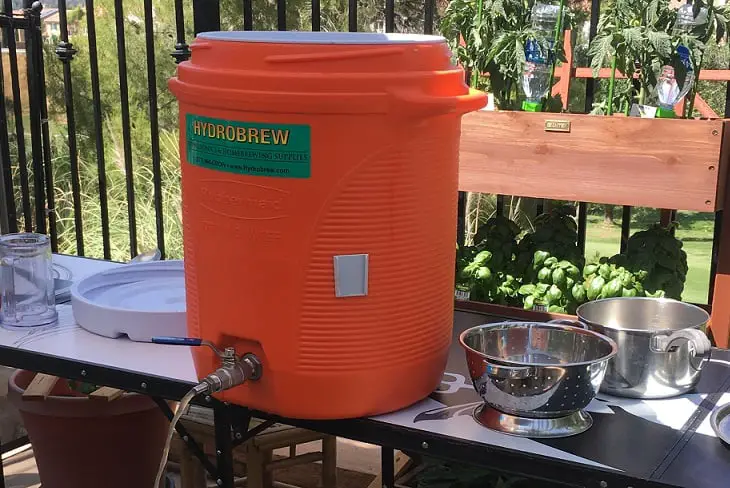
Without a False bottom the wort won’t flow out as smoothly and easily.
You can find a similar cooler for a fair price at Adventures in Homebrewing. This is the only site I have seen something similar to what we have.
Converted Cooler with false bottom and ball valve. (Adventures in Homebrewing affiliate link)
Propane Brew Burner for Heating Wort
Lets be honest, while it is fun to brew we don’t want to be waiting hours for our wort to get to a boil.
So if you are lucky enough to live in a climate where you can brew outdoors a propane burner is great for speeding up the brew day.
Not only can you use these for cooking wort, but maybe you can even cook up a huge pot of jambalaya.
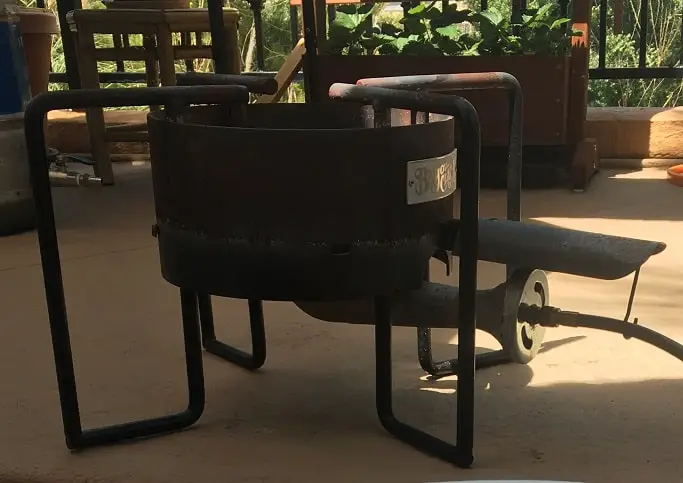
Be sure to check out all the different types of burners that they have available, to find whats best for you. Below I’ve linked to one I think is a great value.
Bayou Classic Brew Cooker Burner. (Adventures in Homebrewing affiliate link)
If you need any part replacements you should also be able to find it at Adventures in Homebrewing.
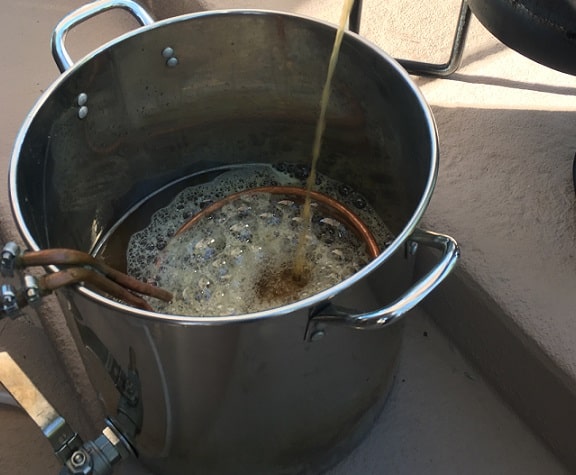
Modded Homebrew Kettle or Keggle
You can easily use a large 10 gallon pot, but we found it easier to use a modified keg. It really reduces the chance of a boil over. It also stands up to the heat a lot better.
If you wanted to, you could also use this to brew 10 gallons of beer or more which makes it a great option for brewing big batches and splitting into separate 5 gallon experiments.
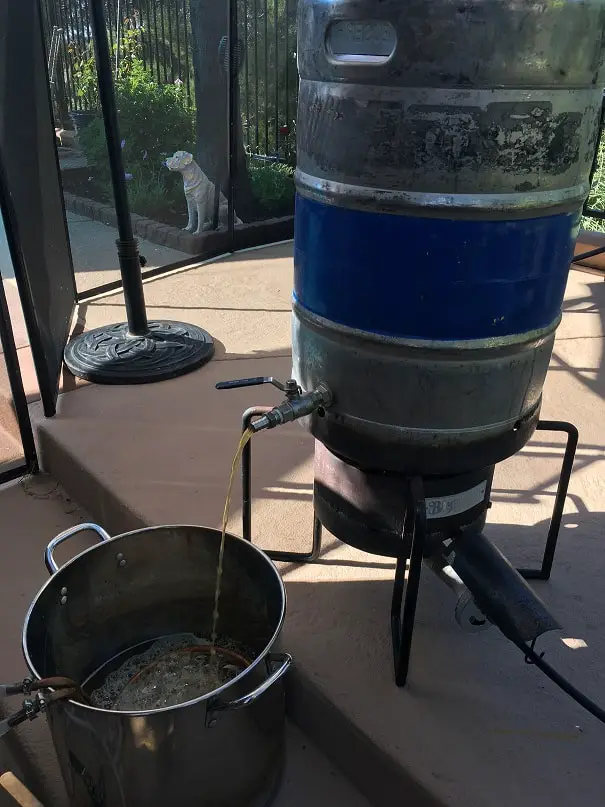
Our keggle was custom built and was a bit costly still. You could get a nice professional one with the link below for a similar or better price.
Homebrew Kettle with options for Ball Valve Assembly. (Adventures in Homebrewing affiliate link)
5 Gallon Pot For Sparging and Cooling
We like to transfer our wort to a smaller brew pot in order to cool it in the sink. Since we can’t exactly put the keggle in there.
It’s a lot easier if you can find a brew kettle that has a ball valve so that you can easily transfer it into a carboy. Although you could easily just use a siphon to transfer it as well.
Unfortunately the 5 gallon variety with a ball valve seem to be rare and expensive so you could just use a regular brew pot with the siphon, unless you find one with the ball valve.
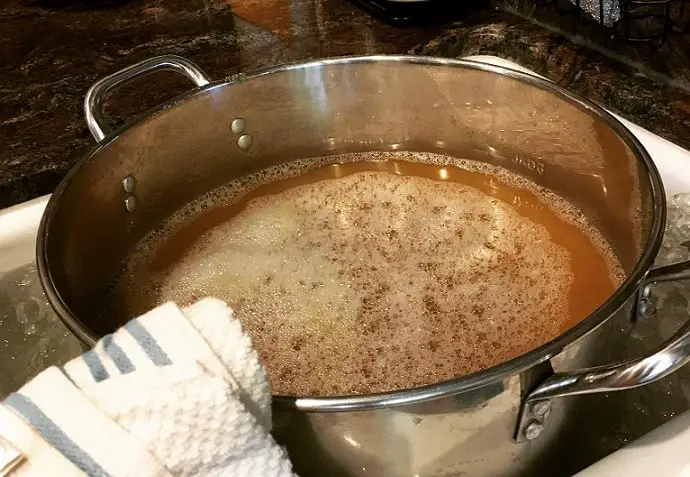
We also use this pot for heating up sparge water on the propane burner, so it comes in handy a lot.
5 gallon stainless steel brew pot. (Adventures in Homebrewing Affiliate link)
Copper Wort Chiller
A copper wort chiller is probably one of the best investments you can make. This thing really changed the game when it came to speeding up the cooling process.
We actually submerge our wort in ice water bath and use the wort chiller alongside it to be even faster. But you could just directly in the keggle and skip a step, it will take a bit longer to cool but safe you some lifting.
25′ 3/8″ Copper Wort Chiller. (Adventures in Homebrewing Affiliate link)
PH Meter and Digital Thermometer
These two items are useful for any stage of brewing that you may be in when brewing all grain. So feel free to pick either of these two up even if you are not using the sparging method of brewing.
PH Meter
In order to make sure that your mash is converting the malt starches into fermentable sugars it is important to maintain PH.
This will increase your efficiency and result in a consistent and delicious beer. Yeast health will also be better and you will have less chance of bacterial infection.
We didn’t worry about this too much when we first started, but in order to make better quality beers we decided to get one.
The mash water PH should be near 5.2. Also make sure to clean the PH meter with distilled water.
Digital Thermometer
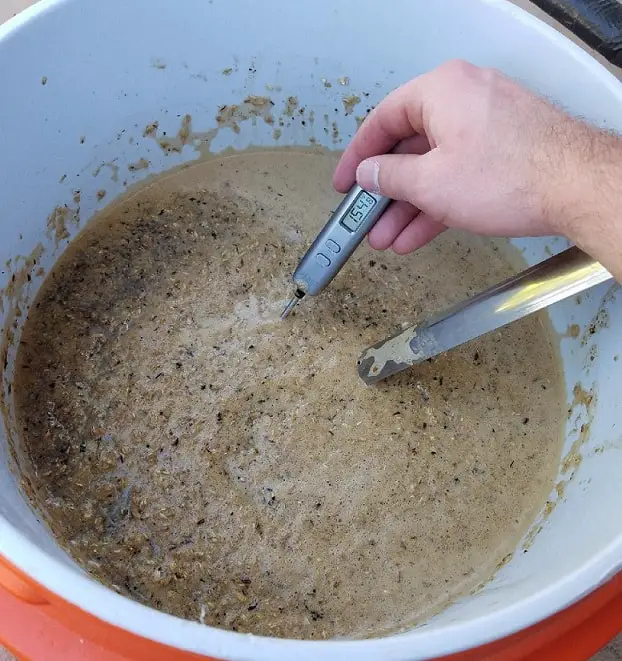
The Digital thermometer is amazing, there are many times where I need to get a temperature reading on the mash and sparge water so its pretty invaluable.
Just remember 180F. That number is the sweet spot where bacteria and any living organisms die. You don’t need to hit a boil, so it will save you some time, energy and money.
PH meter and Digital Thermometer.(Amazon affiliate link).
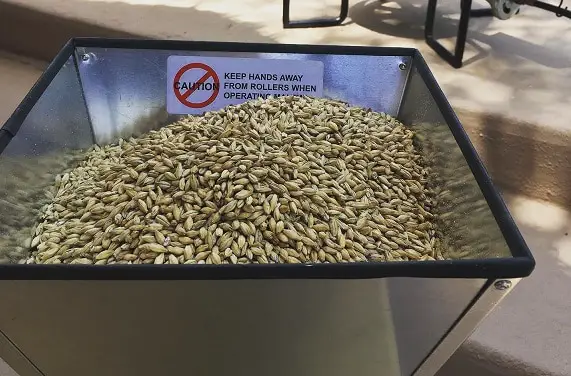
Barley Crusher Grain Mill
This is something you can skip if you are short of funds. But I do suggest getting it at some point. You will be able to buy grains in bulk and store them for long periods of time.
I admit we should have gotten this a lot sooner than we did, there is nothing worse than constantly having poorly milled grains from the nearest homebrew store.
Buying bulk grains will pay for the barley crusher quickly, depending on how much you brew. But, if its every week then you should make back your investment within the year.
There may be some cheaper ones on the market but the below link is the one we have and it works great!
Barley Crusher Grain Mill 7lb Hopper. (Adventures in Homebrewing Affiliate link)
Stainless Hop Filter
We actually did not use one of these for the longest time, and it might seem like blasphemy to use it to hop lovers. But, its actually amazing and very useful.
Instead of tossing your hops directly into the keggle you can use one of these to contain the hop trub. This will allow the hops to bitter and flavor your beer and contribute very little to the trub at the bottom of your carboy.
Trub is the enemy of every brewer, you want as little as possible. It can contribute to off flavors and leave you with very little headspace. Plus you beer won’t be able to clear out if the trub is kicked up when bottling or kegging.
So make sure you pick yourself up one of these, it is worth it.
Stainless Hop Filter. (Adventures in Homebrewing Affiliate link)
From Extract to All-Grain
Once you have taken the leap and gotten your all-grain system check out my article on the all-grain brewing process.
When we first started brewing we bought an extract kit. That certainly is the best way to go when starting out. It also takes a lot less time so if you are stressed for time that may be an option.
However, if you love brewing and want to expand to all-grain and have more control of your beer this is the way to go. It may be expensive going all-grain at first but it will certainly be worth it.
The equipment I laid out above is actually less expensive than buying many all in one electric systems, although it can be more work on brew day.
I wish you luck on your next brew day and now with the setup I have outlined above you can brew with confidence, and if you have any questions don’t be afraid to ask and peruse this site for tips and tricks.