Hailing from Southern California, I am surrounded by West Coast IPA’s. Then one day I came across a hazy IPA, also known as a New England IPA or NEIPA.
This beer was different, it was juicy and pleasant while still maintaining a characteristic hoppy fragrance and flavor.
I wondered, how can I build my own?
- Make sure you have the water chemistry right to make the beer juicy.
- Formulate the grain build, add oats and wheat to increase creamy mouthfeel.
- Choose fragrant hops and whirlpool below 180 degrees Fahrenheit.
- Pick a yeast that attenuates fruity esters.
NEIPA is the east coast answer to overly hoppy and bitter west coast style beer. Its signature haze, is what makes the beer classic. But, I’m more interested in the juicy and fruity flavor, so lets see what it takes to build a delicious hazy beer.
Water Chemistry in NEIPA
Water makes up the majority of beer. So it makes sense that it is incredibly important when building a beer recipe. Yet this step is often overlooked, especially by homebrewers.
While there is nothing wrong with just using tap water to brew a beer, light beer with subtle flavors benefit immensely from tweaking the profile of your water to make a truly stunning beer.
The water profile in a NEIPA is important to the juiciness of the beer. It is often said that the chloride in the water allows for a smoother mouthfeel. This smoother taste is often attributed to the juiciness of NEIPA.
The water profile for a NEIPA can be adjusted with calcium chloride. This will lend itself to a softer mouthfeel. While you can treat your tap water, many professional brewers often start with reverse osmosis water and go from there.
For the purpose of a homebrewer though we really don’t have to take things that far if we don’t want to the differences really are not that intense. I would visit your local water authorities website to see what is in your water though, although don’t beat yourself up over it.
Most certainly you have chlorine and fluorine in your water, which definitely impacts the flavor of your home brew. Treating this with a Camden tablet is a good idea, especially if you don’t want any harsh undertones in your beer.
The Grain Build and Variations
Whether or not you orange juice colored beer, or something resembling baby vomit, the grain bill is incredibly important. The darker and more roasted your grains are the darker in color your beer will become.
There are some pretty Instagram-able hazy beers out there, that’s probably why its getting more popular. Just take a look at this beautiful looking beer.
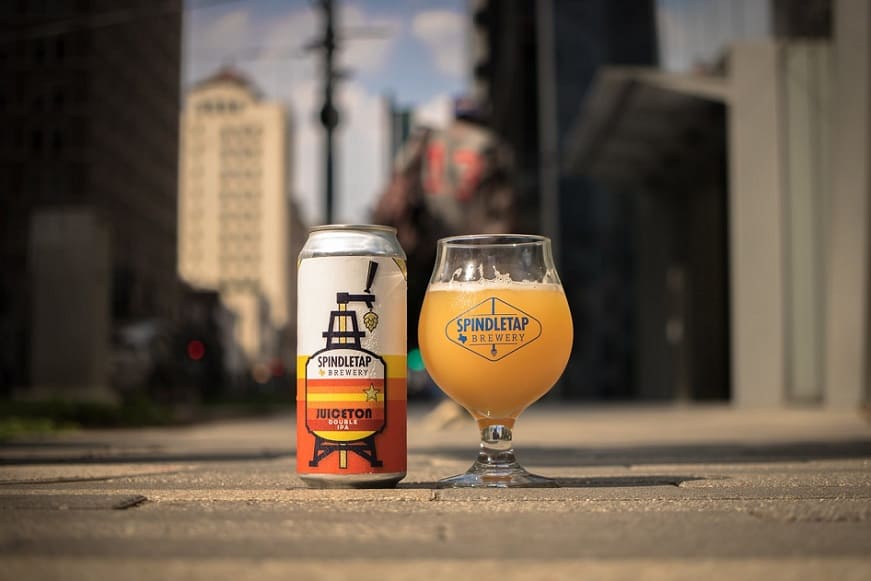
So as far as color is concerned we need to start with something light, either pale in color or golden. The base malt can be a simple 2row or pilsner malt. But you are going to need to make sure you add a decent number of wheat or oats, or both! depending on how you want your beer to turn out.
The oat will make the beer more opaque because of the proteins that exist in them. Thicker proteins lead to a hazier beer. A lot of times people think yeast in suspension is the main cause of the haze, but they would be wrong.
Proteins in wheat or oats are much larger than barley, this is much harder for light to refract through therefore a thicker haze. While yeast in suspension is a contributor to the haze, a lot of NEIPA is even filter, and yet it still has a haze to it.
Brewing with Oat and Wheat
If you are normally brewing all barley beers you usually wont come across lautering issues, but when brewing a hazy it could become a problem. Especially if you are using large amounts of flaked wheat or oats.
These adjuncts, create a thick slurry which can be solved by simply adding rice hulls. The rice hulls are void of sugars and act as a sort of filter.
Mixing in rice hulls will essentially filter the sugars when mixed in with the rest of the grain bill. This is different than adding the actual rice grain to your recipe which will affect the beer by creating more sugars.
The reason oats and wheat get stuck is because of the lack of a shell. This lack of shell around the grains means there is literally nothing but an absorbent sponge between you and those delicious sugars.
Adding rice hulls will give them that barrier needed to extract those sugars, without imparting new flavor or sugars.
Getting that Golden Color with Specialty Malt
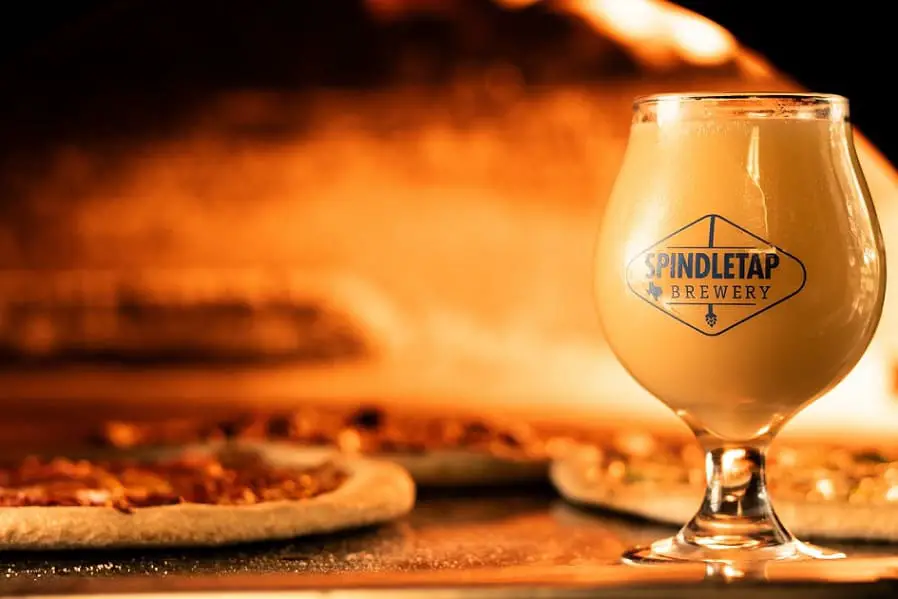
That signature golden color is commonly achieved by adding a malt like Golden Promise or a good crystal malt that you can find from online stores.
Remember to pay attention to the lovibond here. It can be spotted by a big L next to the number. Something around a 20 should give it a nice golden finish without being too dark.
Grain Bill Percentages
While you can truly play around with the percentages to make your very own delicious NEIPA here is a basic format of how you should approach this beer.
- Between 70%-80% Base malt.
- 10%-15% wheat malt (play around moving between oats and wheat)
- 10%-15% flaked oats.
- 3%-6% Specialty malt to give it some color.
This recipe typically won’t give you trouble with lautering, but it does have potential. You can rectify it by adding a pound of rice hulls, it wont affect the recipe any and why would you want to get into trouble anyways.
If your curious what the most popular brewing grains are, I surveyed homebrewers to see what they used most.
In reality though you should only run into issues if you are approaching 50% wheat or oats, since that is typically what wheat beers are at. But again why take the chance.
The Most Common Hop Types and Prices
NEIPA or hazy beers have a lot of hop aroma and flavor. But yet they somehow do it without being bitter.
The way this is achieved is by not using hops during the boil. The practice of tossing hops in at the beginning of the boil produces the bitterness in an IPA. Much of the aroma and flavor is lost during this phase.
IPA makers have initiated dry hopping, which tosses hops into secondary fermentation in order to get that aroma back, but does not quite get that flavor.
With NEIPA almost all of the hops are added after flameout and using the whirlpool method are added to the wort. Although you should add a few bittering hops at the beginning of the boil if you want some extra IBU’s.
Make sure you whirlpool the hops below 180 degrees. Simply take the wort from the heat source and wait till it reaches that level. Then spin the wort and toss in the hops.
A lot of other resources on the web say wait until 170 degrees, but why waste the extra time and risk more off flavors in the beer.
Tossing in at 180 and then letting the hops stand for up to 20 minutes is a great way to ensure the flavor and aroma, but if you are already slow at cooling your wort you might as well cool it as the hops work their magic without waiting.
This is essentially what the large breweries do, the only reason home brewers typically wait is because they are working with less liquid, and its easier to cool than commercial brewers.
Hop additions and Types (Create Fruity Beer Without Fruit)
While you can add actual fruit to NEIPA, most don’t get their fruity, juicy flavors from fruit at all. Its actually all in the hops (and yeast, but we will get to that later).
Depending on what fruit flavor you are going for is how you need to choose your hops but some common types are included below.
If you really love grapefruit IPA’s I created a list of every hop that tastes like grapefruit for your convenience.
Let’s take a look at the flavor profiles and pricing for the types of hops and quantities require for a NEIPA.
Overall you need to go pretty heavy on hops since it is an IPA, this could drive the price of the beer up quite a bit, so make sure you are looking at the prices of the hops you are buying. You will likely need around 9 oz of hops. Although you could go with much more than 9 oz.
| Name | Flavor Profile |
| Citra | Intense citrus aroma flavor. Also some grapefruit, lime gooseberry, passion fruit and lychee notes. best as a late hop addition. |
| Mosaic | Aroma hop, fresh pine, mango, blueberry and citrus. |
| Galaxy | Heavy citrus and passion-fruit flavors. This is an Australian hop so its expensive in the USA. |
| El Dorado | Bittering hop. Likely for its cheapness. Has a candy like aroma of cherry and mango. |
| Lemon drop | Specific aroma descriptors are: Lemon, mint, green tea, and slight melon. |
| Amarillo | Lemon, orange and grapefruit. |
| Denali | Rich in pineapple, citrus and pine flavor. Flavor and aroma profile. |
Strategies for Saving Money on Hops
When it comes to shopping for hops you really need to buy in larger quantities to save some serious cash. Hops can last a while but are sometimes difficult to keep fresh for long periods of time, so you need to maintain a balance.
Make sure you match up the amount of hops you are purchasing with future beers you are planning to make. It doesn’t make sense to design beers too sporadically.
An example is many successful restaurants purchase ingredients that can make multiple dishes so there is variety, but not to many different types of ingredients.
Steps During the Boil
Guess what! you don’t have to add any hops during the boil at all. Simply boil the entire time and the flameout. At flameout simply toss in 60-70% of your hops once the temperature is below 180 degrees.
The rest of the hops will be added in as a dry hop for even more aroma. You can rack it to secondary and toss in the hops or just throw it into primary a few days after fermentation has ended.
If you absolutely must add some IBU’s to the beer then you can put some bittering hops at the beginning of the boil. Something like an ounce or so.
Do You Even Need to Boil?
You can actually get away with making a NEIPA without even boiling it. However, I would recommend against it. There are many things to worry about. Even if you don’t boil, you still need to heat it though, just not past boiling temperature.
I would suggest just going for a shorter boil. Instead of going a full hour you can safely go 40 minutes without negative affects.
This YouTube video shares some great information about how you don’t have to go for a typical hour boil and how to do it.
I like the idea of shortening your boil, since you will most certainly save in energy and time costs. This could mean the difference between being all extract and all grain, in terms of time at least.
Yeast Choice
When it comes to yeast in a hazy IPA it is important to focus on ones that balance and work with the added hop varieties. Higher ester yeast strains that promote fruit flavors, are also a favorite.
There is some debate about whether or not you should be using high flocculating yeast, or yeast that has low flocculation.
Lower flocculation yeast simply means that the yeast doesn’t fall to the bottom of the fermentor as trub.
While some favor a bolder haze, you can still end up with an opaque hazy beer even with high flocculating yeast, so I do recommend it. I would simply go with yeast that benefits other intricacies of the flavor you want.
Below are some common yeasts used for hazy IPA’s.
| Name | Profile |
| Imperial Yeast A38 Juice | Round mouthfeel with sharp citrus notes. Very active yeast make sure there is head-space. brings out juice and aromas of newer hop varieties. |
| White Labs WLP066 London Fog | low flocculation, medium ester profile and ads residual sweetness. Accentuates malt and hop flavors with a velvet mouthfeel. |
| Wyeast 1318 London III | nice malt and hop profile. Fruity and soft, finishes sweet. |
| WLP067 Coastal Hazy Ale Yeast Blend | Tropical fruit esters. Dry and juicy, produces mango and pineapple characteristics. Low flocculation. |
While English ale yeasts are where hazy IPA’s started out, multiple house yeasts are popping up on a regular basis. Keep an eye out for newer strains that could elevate your hazy to the next level.
Fermentation Length and Dry Hopping
A typical Hazy IPA will take 10 days to ferment. Let it sit in primary for up to three weeks before kegging or bottling. If you choose to bottle, let it sit for another three weeks before drinking. The total length of time from start to finish will be around six weeks on average.
The trick with hazy IPA’s are to dry hop the crap out of them as you would with any IPA. As soon as fermentation is over, sometimes even before, get a hop bag and drop in the rest of your hops.
Alternatively you could only drop in half the remaining hops and wait 3 days before dry hopping again with a fresh batch of hops.
Oxidation can be a problem when dry hopping, make sure to purge the head-space in your fermentor with carbon dioxide to prevent the oxidation.
While oxidation can become a problem, its typically not something an amateur home brewer really needs to stress about. Especially if you plan on drinking the beer quickly. However, if you want the beer to last a long time, oxidation in high hopped beers can cause it to become stale quickly.
Hazy IPA’s are also not meant to be bottle conditioned. Typically you will want this to be on draft. If you really want this creamy you could even try putting this bad boy on nitro.
Nonetheless if you really want to you can bottle condition the beer, just make sure all fermentation is over and the beer is settled.
Do you Need to Transfer to Secondary?
This is really up to you, if you don’t dry hop in a bag it might be worthwhile otherwise its really not necessary. One part of secondary fermentation is to help with clarity, but since hazy IPA’s are meant to be opaque its not something I would stress over.
Its also of course very risky to move to secondary, primarily because of the oxidation issues discussed above.
Sugar in NEIPA
I’ve seen some people put sugar in NEIPA, whether its a milkshake IPA, or just a juicy variant. It is a bit puzzling.
I’m not really sure what purpose sugar serves in a NEIPA. When it comes to a Belgian tripel, its really just there to up alcohol content of the beverage. It also keeps the grain bill smaller to keep a cleaner and crisp beer.
With a NEIPA the sugar could also act as a bit of a clarifying agent, so I’m really not sure what purpose it serves. One possible use is to give the NEIPA a dryer mouthfeel since not all sugar will be fermented with the specific yeast types being used.
The Future of the Haze
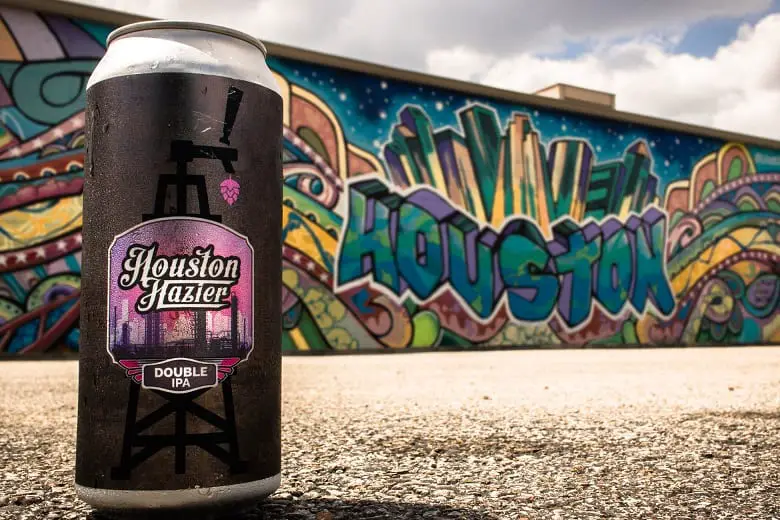
Instagram is really having an impact on the popularity of this beer. With the amazing pictures that you can get from making an excellent haze this beer is here to stay.
Hazy IPA’s are also a great way to get more people into the culture of craft brewing. I see it as a positive.
The dream is to one day go to the beer section of the local grocery store and see the mass produced beers a quarter of the size they are today.
