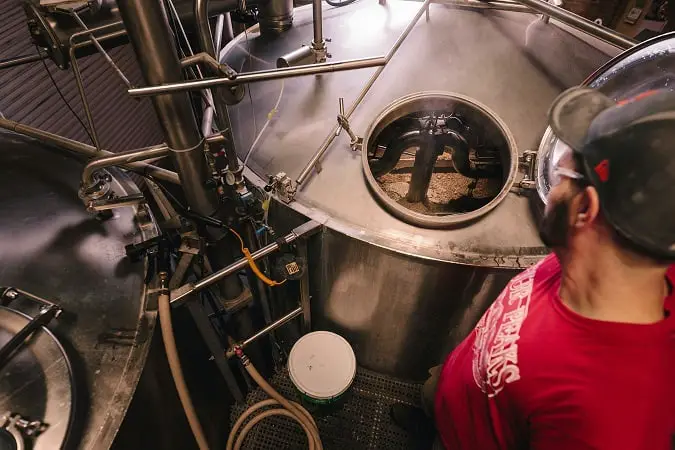
The whirlpool technique is quickly becoming popular in the homebrew community. The major reason for this is the extreme popularity of hazy IPA’s. As a homebrewer, I was looking into buying a plate chiller brew in a bag system, I wondered if the whirlpool worked differently.
There are two no cost ways to whirlpool wort if you have a pump system for brewing.
- Push the liquid against the wall of your kettle at a horizontal angle just below the surface of the wort to start a whirlpool.
- Use a sanitized spoon to physically stir the wort in a whirlpool motion while your pump injects wort into the kettle.
When attempting to whirlpool with a plate chiller or pump system there are a few things to think about. I’m also assuming that if you are trying to whirlpool you want to add hops to create a juicy and hazy beer.
There are even products you can buy to help you out in creating a whirlpool and potentially extract the most from your hops. In order to navigate this potentially expensive, but very rewarding landscape lets look at some important considerations.
Starting the Whirlpool and Why we do it
As I mentioned above there are two easy ways to start the whirlpool. Both of them are sort of active ways of making sure you can maintain the whirlpool while cooling your wort.
If you want to create a more passive way of initiating a whirlpool you might be able to fasten the hose that the wort is traveling back into the kettle through.
How long Should a Whirlpool Last?
This is an interesting subject since many websites typically parrot that you should whirlpool your hops for 15 minutes to 20 minutes. In reality its not that simple. I mean if you tossed your hops directly in, how exactly are you supposed to take those hops out and are you supposed to take them out at all?
The actual answer is that you don’t whirlpool your hops for a specific amount of time, but rather a specific temperature. The lowest temperatures have the least amount of bitterness and most aroma, hence dry hopping.
Honestly if you wanted to you could whirlpool the entire time, or not at all. So don’t break your arm trying to keep a whirlpool going because you are trying to keep your hops spinning for a specific amount of time.
Below we will get to more of the reasons why we whirlpool which should clear up the questions on how long we should whirlpool. But just in case your arm is tired and you want to keep that whirlpool going there are some attachments you can look into.
Attachments you can Buy
There are a number of attachments you can buy in order to make it easier to maintain a whirlpool. For example you can buy a whirlpool arm that bends and moves alongside the kettle so that the water flows into the kettle alongside instead of straight in.
This attachment depends on your system. If you have a system like Clawhammer electric brewing system the wort enters the kettle from above instead of to the side.
This makes it difficult to whirlpool without changing the system or buying a specific whirlpool attachment.
In the video below Clawhammer detaches their system and looks like they are doing a hop stand rather than a whirlpool.
If you Decide Not to Whirlpool
In the Clawhammer situation you may need to detach from the lid in order to setup your whirlpool which can be a bit of a nuisance. Alternatively you may not even need to whirlpool but rather just hopstand and add your whirlpool hops.
Hopstand refers to letting the wort sit at a temperature without active cooling in order to extract hop characteristics at that given temperature.
Sometimes a hop stand is confused with whirlpool and is used interchangeably to explain how to add hops post boil. In reality its all about achieving a specific temperature to impart specific flavors.
Steeping Bags
If you are doing a hop stand without a whirlpool you will likely want to use a steeping bag or hop spider to keep the hop sediment contained while it imparts its magical goodness.
This way when you are moving the wort to primary fermentation there are less hop particles that get moved into primary fermentation that will contribute to trub. This is the brewers term for a variety of sediment that collects at the bottom of the carboy.
The whole idea is to keep as much of the hops out of the carboy during primary fermentation. This will leave less trub in the carboy, creating more space that could potentially save you from a vigorous fermentation bubbling over.
Why do we Whirlpool?
There are actually a lot of reasons for whirlpooling other than hop additions post boil. Some of these reasons include:
- Making wort clearer by pushing sediment to the bottom.
- Cooling your wort faster by combining cold and hot water pockets essentially dissipating heat.
- Pushing sediment away from plate chiller intake, so that your plate chiller does not clog.
The number one reason is likely to move the sediment away from the liquid wort. After the flavors and the proteins have been extracted from the additional ingredients we don’t want that sediment to remain with the beer. Thus whirlpooling helps to take those out before moving to primary fermentation.
Cooling wort is also a factor in when considering whirlpooling. My buddy and I actually used a wort chiller to spin the wort in a circular motion, intuitively. This functions as a way to mix the cold and hot wort to help the cooling process.
This does not function very well to actually create a steady whirlpool for hop dropping though since it is too large and hits the sides of the kettle.
Adding Hops to a Whirlpool
When you get a whirlpool going you can add the hops in and have it mix with the liquid. It will impart its aroma and flavors to the wort, and not bitter as much as if you were to add to a boil.
You need to add hops to a whirlpool at less that 180 degrees Fahrenheit.
That is the temperature that the hops will not longer impart its bittering flavor to the wort. Make sure you continue to cool the wort as you whirlpool the added hops.
This while save you both time and money since you don’t waste extra cash on trying to cool faster, once its time to cool the wort and you don’t waste time on a hop stand.
Hop standing was essentially created to mimic what large breweries are doing, but it does not take into account how difficult it is for these breweries to cool their wort.

If they could cool it faster they likely would, but now it is becoming common for homebrewers to do it with no proof as to what value it imparts in the beer flavor.
Expensive Hops vs Cheap Hops
Since a wort whirlpool imparts more aroma and flavors to your beer from the hops you add its important to use some of the great hops that are coming out everyday.
These may be more expensive than your typical bittering hops. They have a higher level of aromatics and better flavor. If you are adding typical bittering hops with less aromatics and flavors it is defeating the purpose of adding these hops to the whirlpool.
Can a Wort Whirlpool Save You Money?
It is entirely possible that you could save a boatload of money in the long run by implementing a whirlpool, even if it is not to create a different flavor profile in your hops.
By generating a whirlpool you are efficiently moving energy in the liquid. This creates a faster heat dispersion, decreasing the temperature much more rapidly.
There are a few ways this can save you some cash.
- It is no longer necessary to buy expensive products to expedite cooling.
- You don’t have to run a plate chiller or products that require electricity to run for as long, saving energy costs.
- If you cool wort using an ice bath you may need less ice to cool surrounding water.
The basic idea, is all of these products or forms of water help expedite cooling, but in order to cool the cheapest way you need to push heat away from its source as fast as possible.
This does not have to be done with water, but a variety of ways, the more surface area the better, maybe even transferring vessels will cool the liquid at an even faster rate.
We typically transfer our wort into another vessel before implementing an ice bath, and this potentially decreases the amount of time it takes to cool down the wort once it enters the ice bath.
