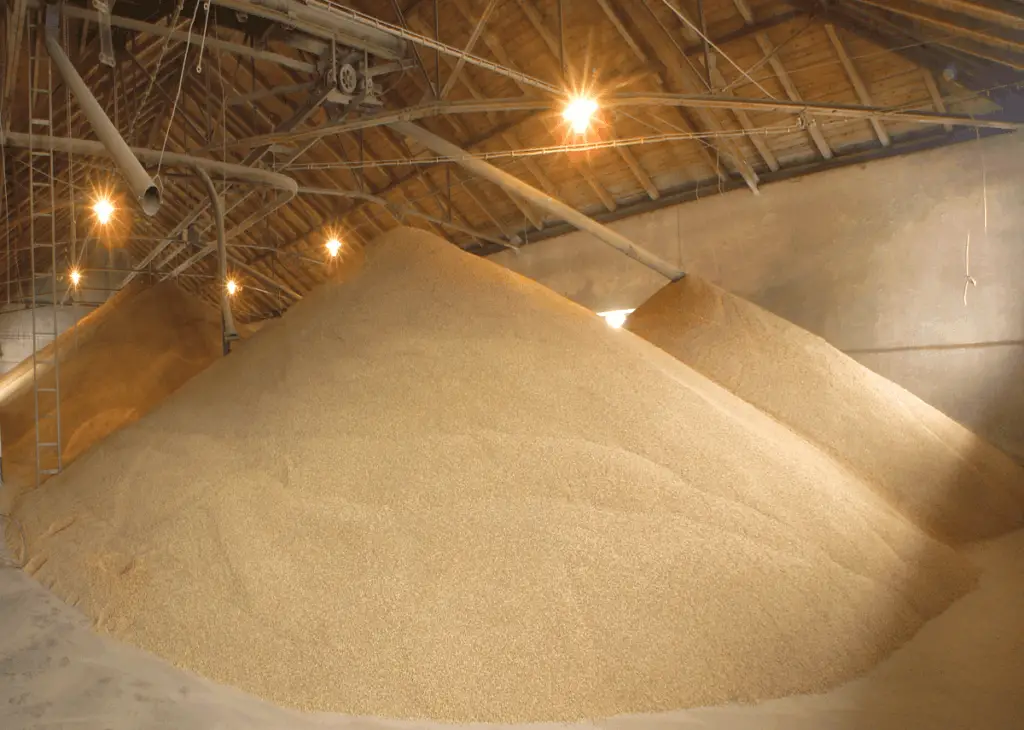
I am constantly figuring out how to brew beer cheaper and one of the best ways is to buy ingredients in bulk. For example, buying a 50 pound bag of base malt will save you tons of money. But, how am I ever going to use all that malt and why would I pigeon hole myself into one grain? Then I discovered I could roast my own malt at home.
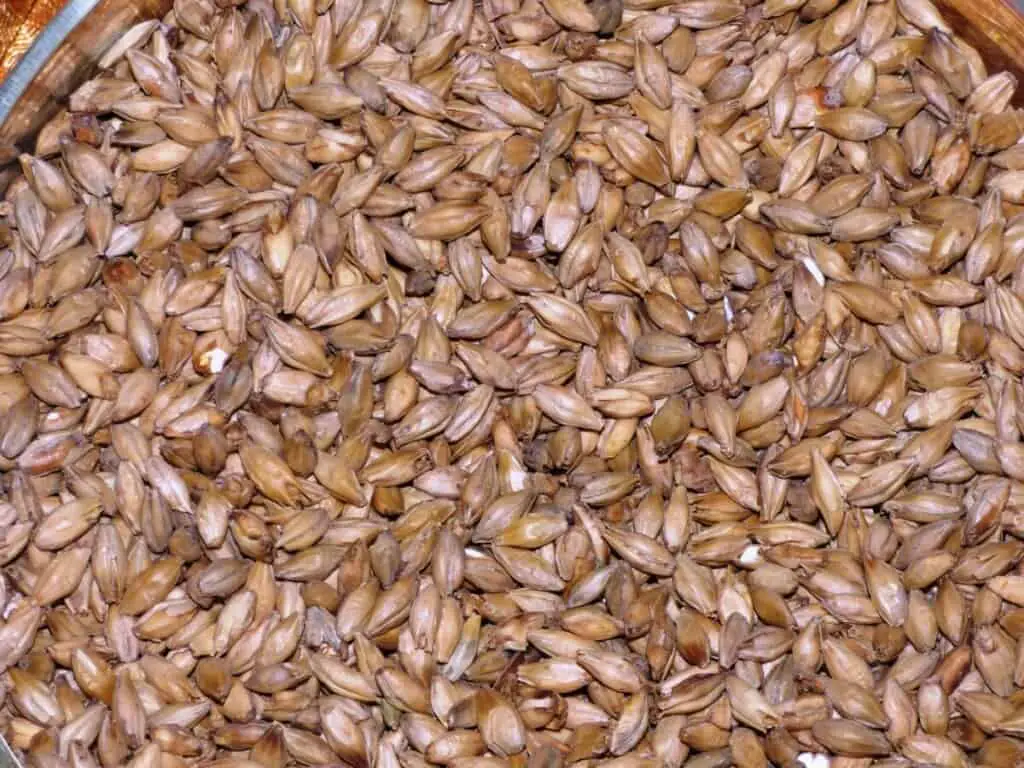
Lay base malt in a single layer on an oven pan. Set your oven to 300°F and roast for 15-60 minutes. The longer you roast the higher the lovibond. Roasting wet malt creates caramel or crystal malt, which is sweeter. Roasting dry creates a nutty flavor. Let malt rest for two weeks.
Roasting your own malt is a great way to advance your brewing skills, create unique beer and save some money along the way. There is so much that goes into roasting malt, but it is often overlooked and hops are given much more priority.
Remember, we are roasting malted grain, this is not the equivalent of un-malted grain. If you are growing your grains from seed you will need to malt it first. This means it will need to germinate and sprout.
Making Specialty Malt From Roasted Base Malt
The process described above is enough to get you started roasting your own malts but if you want to get the desired results your going to need to know a bit more about how to get specific malt types out of your chosen base malt.
You can start making your own specialty malt from any base malt on the market. The cheapest is probably your standard 2-row malt. To be very honest you are saving tons of money roasting your own malts as the same bag of specialty malts is a good $20 to $30 dollars more. However, you may not get as good a consistency as a professionally roasted malt. But, at least it will ensure you have a unique beer.
Steps in Roasting Your Malted Barley
Remember to pick up a sack of two row or any other base malt before you begin.
- Choose what type of specialty malt you want to make.
- Depending on the type you want to make you will either need a higher temperature 350°F-400°F for dark malts and 300°F-350°F for brown or caramel malts
- If you want sweet malts (see caramel crystal below) make sure you soak your grains in 150°F water before toasting.
- While roasting make sure you move around the malt on the tray for a more even roast. Typically roasting is done in drums.
- After you are finished roasting place in a dark dry place for two weeks before use, so the flavors mellow.
Darker Malts
Now when it comes to making varying types of malt it comes down to temperature and roast time. In order to make darker chocolate and black malt you will need to roast at high temperatures for longer periods of time.
You need to be careful since it will burn and could catch fire, this is why professionals typically spray the malt with light amounts of water to keep from catching fire.
Kilning vs Roasting

Lower heat in the 300°F range will give you lighter toasts more in line with brown and caramel malts. Anything below 300°F at around 180°F is considered kilning. Kilning is how base malts are made and how they get extremely low lovibond levels.
These lower lovibond levels result in less caramelized sugars and thus more fermentable sugar. That is why base malts make up a large portion of grist profiles.
Let Malt Rest for 2 Weeks
The malt needs to rest for a few weeks because there is a lot of off flavors and smells that need to fall off before use. If you are using immediately it will impart the undesirable flavors into your beer. In general the darker your malt the longer it needs to rest.
The Difference Between a Brown and Amber Ale
When it comes to brown ales and amber ales I always knew ambers were sweeter but I didn’t understand why. What it comes down to is how the specialty malt is roasted.
In order to get the nuttier flavor of the brown ales malted barley is toasted dry. When it comes to the Amber beer, the malt is first soaked in 150°F water for an hour allowing sugars to start to convert. Then the sugars are roasted when put in the oven at the same temperature as when making a brown malt.
Pro Tip: When soaking your malts make sure you are using water with no chlorine in it. This means that tap water is off limits and it must be filtered first.

The difference comes from sugars being converted and immediately caramelized. These sugars are not fermentable leading to a sweeter beer with more mouthfeel.
The Difference Between Caramel and Crystal Malt
There is a lot of confusion between the two but when it comes down to it they both have one thing in common. They are both moistened before they are either roasted or kilned.
Crystal malts are typically kilned at lower temperatures. They can then in turn be roasted at higher temperatures to become caramel crystal malt. Essentially both undergo sugar conversions and then both have those sugars caramelized to create a sweeter taste.
Ways to Roast Malt
While the most common way to roast your malt is with a simple home oven the professionals typically use a drum to spread heat and get an even distribution.
I’ve seen some attempt to get this even heat distribution by using a popcorn maker that gently rolls the barley around in a circular motion.
You can also roast malt on a grill, but be prepared this method may give your malt a bit of smokiness as well, but then again you can use that to your advantage to make a delicious smoked porter.
Create Unique Grain Products
There are a lot of various adjuncts that there is a distinct lack of in the beer industry. For example have you ever thought about creating toasted rice to add to your brew? Or even a more common ingredient like wheat that comes in a caramel color?
These types of things don’t exist, but with a bit of knowledge of how roasting works you can actually create a product that does not exist in the world and thus make the most unique beer on the planet.
Roasting Husk-less Varieties.
Barley is typically the only beer ingredient that has a husk so any of the others like rye or wheat need special attention when roasting. If these huskless grains get too dark it will result in a much darker beer than intended.
So if you are roasting barley and rye or wheat by sight make sure you are treating the color ranges differently. A darker barley is much less roasted than a darker wheat.
2-Row vs 6-Row
2-row is the predominant barley grain in North America. 6-row is more common in Europe. The difference between the two is that 6 row typically has higher protien levels but is harder to grow.
This is why 2-row has become more prevalent. Thus there are not as many roasted varieties of 6-row. This creates an opportunity in the craft beer market for an interesting NEIPA. Since the higher proteins will result in a hazier beer.
Roasting the 6-row could result in a darker and maltier heavily hopped beer that could lead to some interesting flavors.
Further Reading and Learning
There isn’t much information on the web about roasting your own malts so this is a great way to learn and diversify your beer. The wide variety of malts on the market has made the processes forgotten.
But, interestingly enough it has allowed room for cost savings in your brewing and the ability to create unique beers.
If you wan’t to learn more there is a book called Radical Brewing that has lots of interesting takes on brewing your own beer. They also cover roasting your own malt.
